Floatwheel Monster Rails
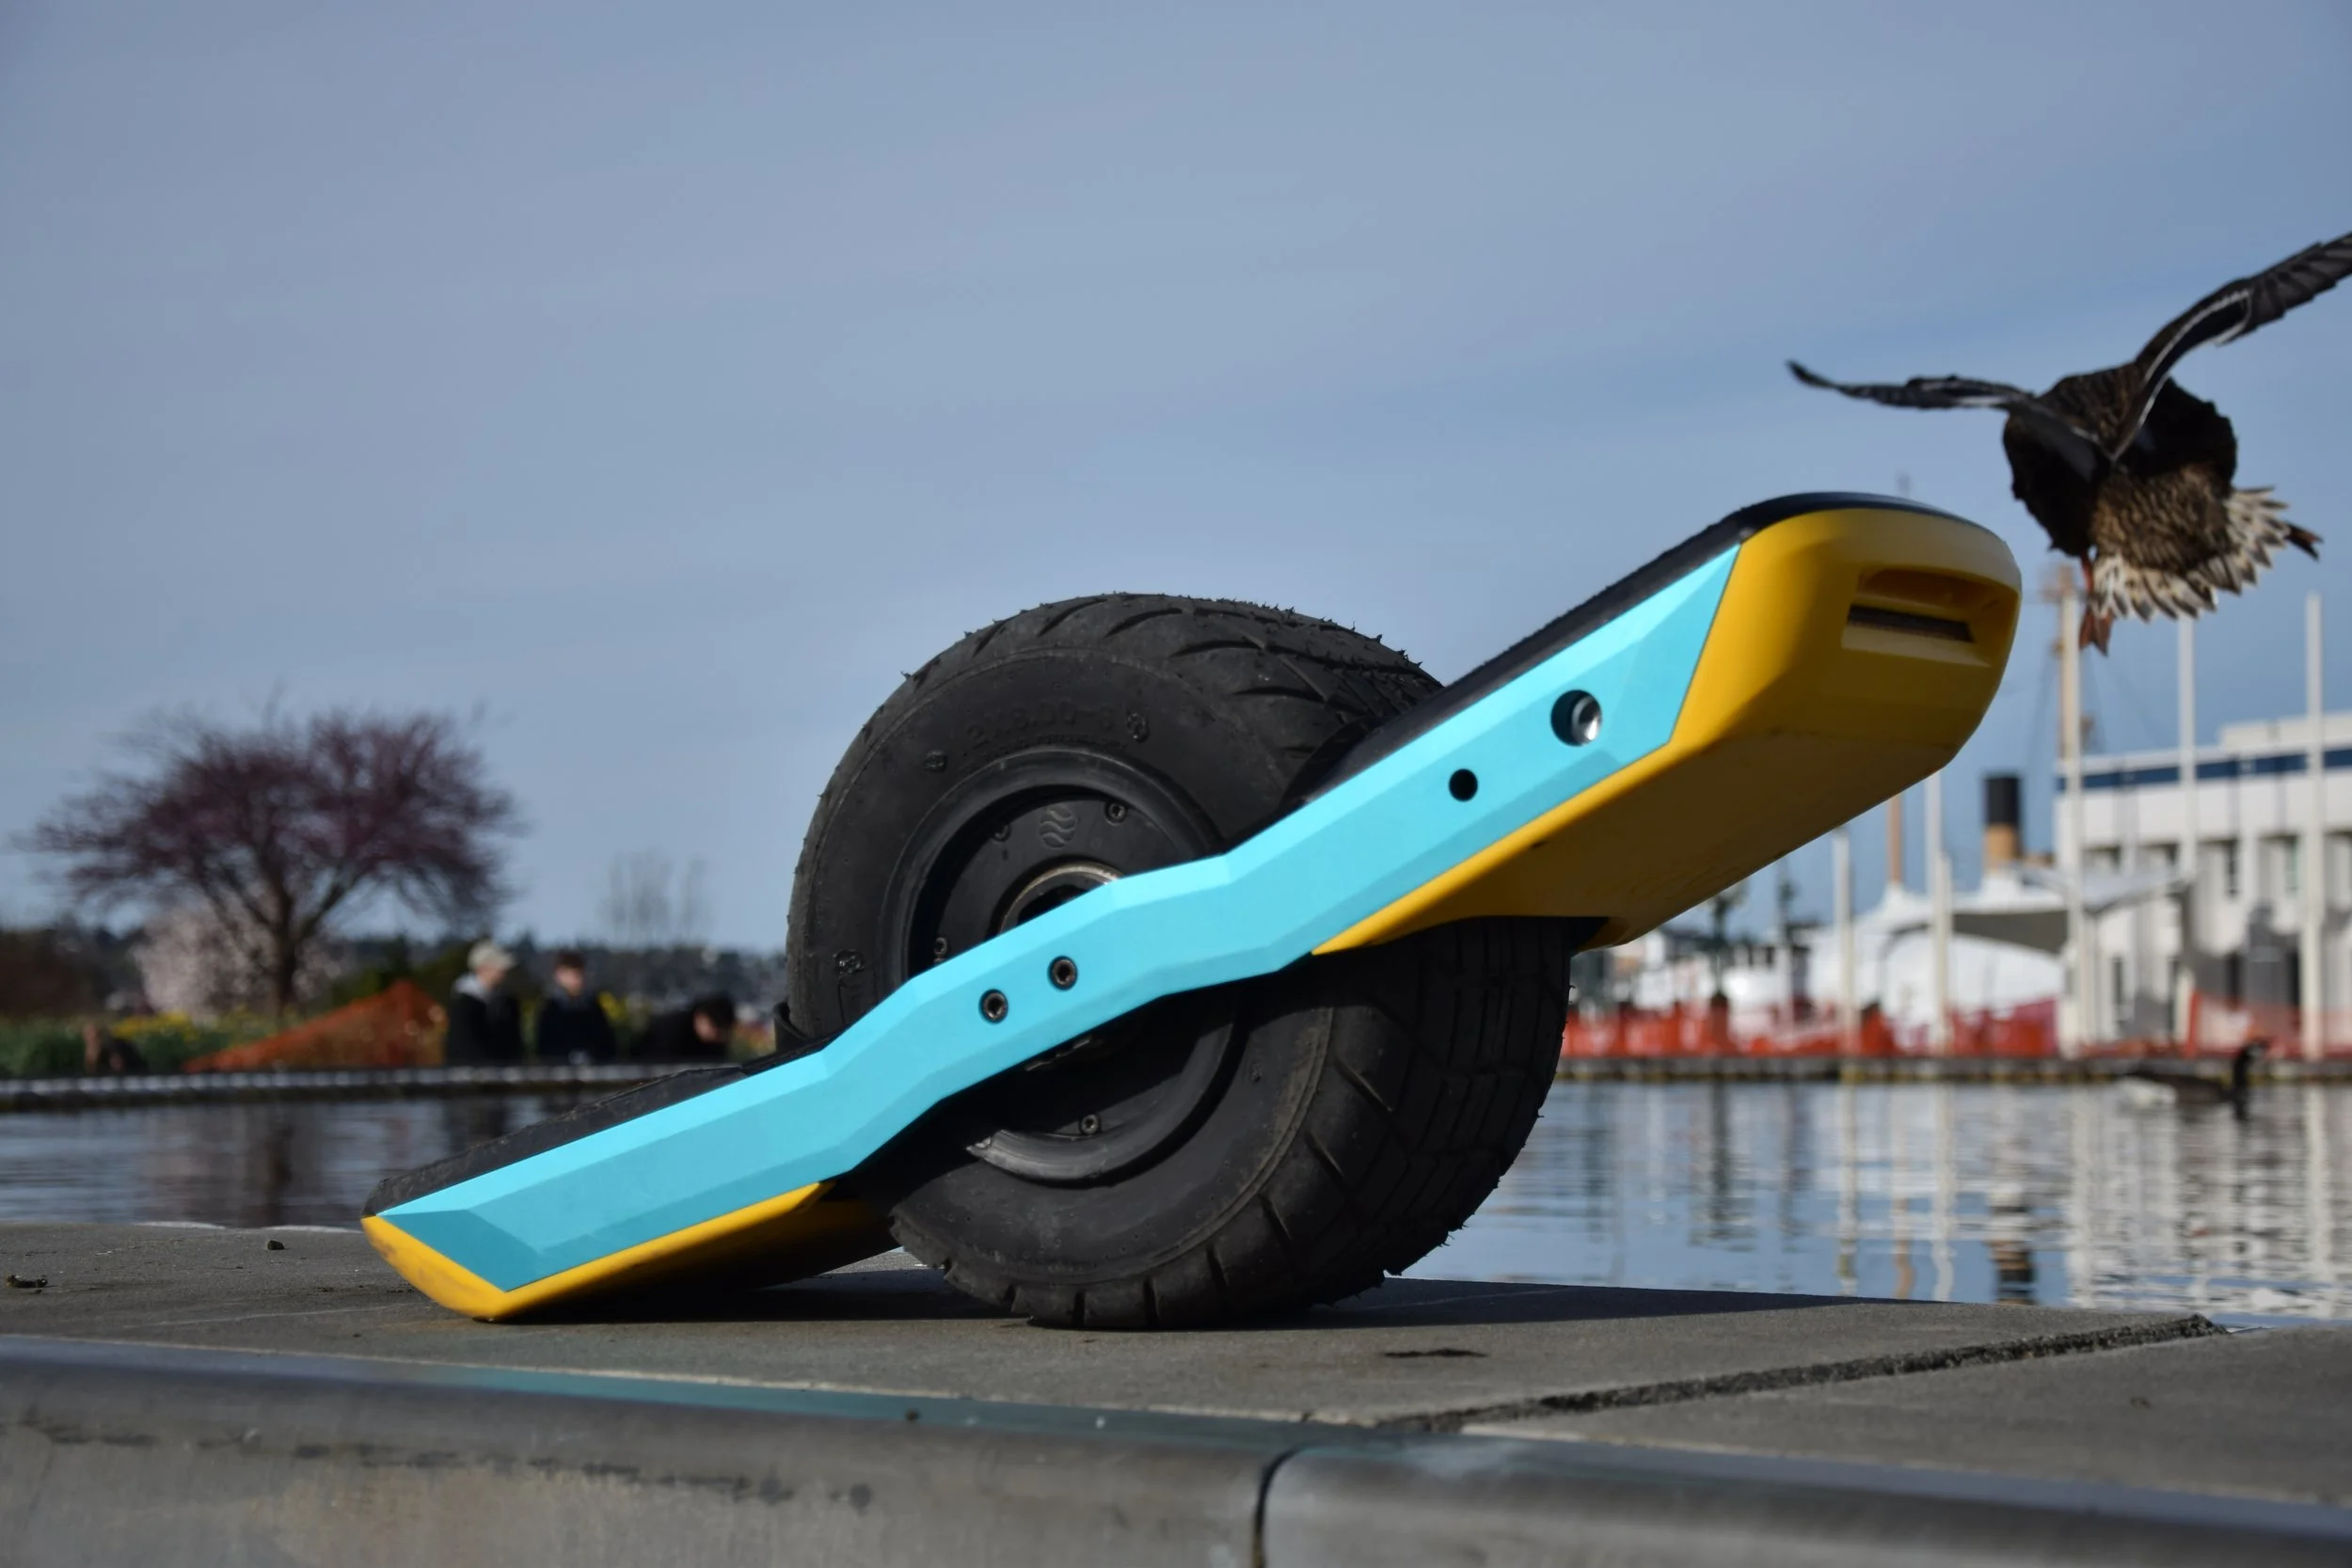
So… I bought a Floatwheel. A Semi Open-Source Onewheel alternative. The issue? No aftermarket parts! I love riding WTF Style rails on all my other boards. They adjust the ergonomics to keep you stuck to the board over bumps, lower the center of gravity, and give additional clearance. Perfect for riding trails! My problem is that the stock rails that come with the Floatwheel don’t have enough angle. They also limit what tire options you can run without cutting or removing your mud guards. To fix this, I designed, prototyped, and will soon be manufacturing and selling my own steeper rails with more tire clearance. They can turn any stock Floatwheel cruiser build into a certified off road monster.
The Design:
Originally, I was planning on making these on my own small CNC mill. I immediately knew I couldn't fit a whole rail in the mill, so I would have to split it into parts. A company called “The Float Life” designed a modular rail they called ‘varials’. Varials consist of three parts. A ‘center’ that the motor connects to, and two ‘quarter pannels’ that the battery and controller boxes connect to. The advantage to splitting them like this means you can easily swap out centers to adjust the shape, length, angle, ect. without having to remake an entire rail.
Each component of the varial connects using a dogbone shaped tapered feature and two screws to pull them together. This keeps the stresses away from any screws and distributes them over a much wider area. The downside to a tapered design, is without perfect tolerances, you will get some amount of misalignment along the axis of the taper.
That didn’t stop me from designing my own take on the concept, assuming I could itterate the tolerance on my CNC. After loading them into CAM however, I relized my first mistake… Even splitting them into three parts, I still couldent fit them on my mill! Oops! I could still fit the centers, but not the quarters. I went to quote the quarters on JLC CNC, but their instant quote was way higher than I would have liked. High enough that I would be better off ordering the rail as one piece!
Ordering rails as one piece simplifies alot of the process. It removes the whole problem of taper tolerance, it keeps the part count down, and it wont squeak once dust and grime work its way into the joint.
I quickly modified my model back into a single part rail, and 3d printed out a replica I could mount onto my board. This prototype proved out everything would fit, and my tolerances were correct.
The First Metal Proto:
After sending off my drawings to JLC, and receiving my parts, I realized both I, and JLC, had made some mistakes. I had been trusting floatwheels provided CAD for wire harness clearance and thread size. As it turns out, it was not up to date. I had to machine the main harness clearance slot slightly wider, and the handle magnet screw was the wrong thread size. After making those modifications, it bolted right up to my board! I noticed JLC had left some scallops on some deeper features and they skipped some important chamfers. I drafted up some updated drawings, and sent them over so I could have a remedied set.